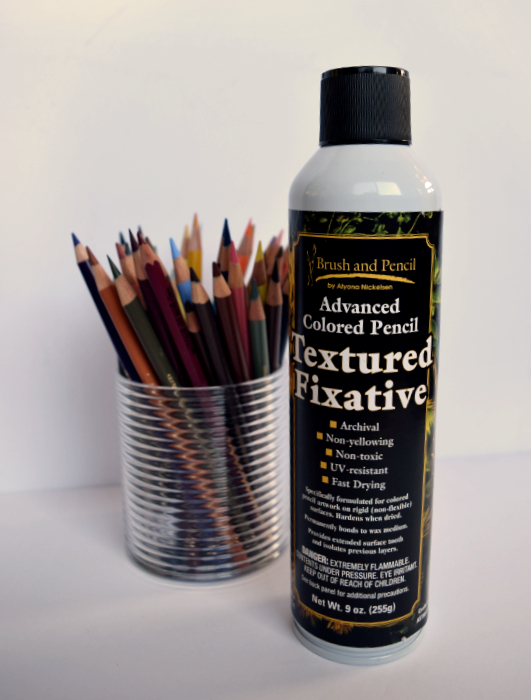
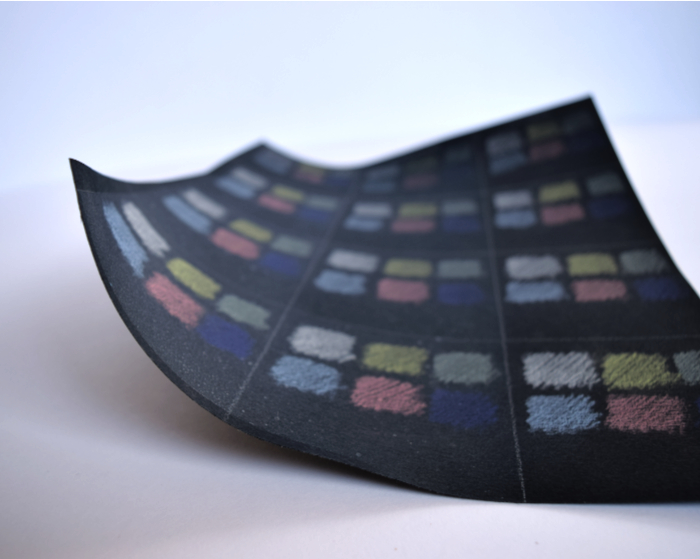
As someone who works with colored pencils on a daily basis, I’m always interested in finding new materials and techniques to improve my work. I first heard about Brush and Pencil over six months ago. I was particularly intrigued by the fixative because of it’s claim to restore the tooth of the paper and potentially give you the ability to have unlimited layers.
Quick Verdict: I would recommend this product. It does generate a mild texture, but should be used with caution for light weight paper and non-white paper.
If you’re interested in my experiments and results, keep reading on.
As a background, I work mainly with Faber-Castell Polychromos pencils on Canson Mi-Teintes pastel paper. The paper I use has a light tooth (aka surface texture). I typically build up between 3-7 layers for a drawing and by the 5th layer, I am usually at the point of nearly burnishing the paper because it’s very saturated with color and has completely lost its tooth. I would use the texture fixative mainly as a tool to restore the texture to my drawing starting at layer 4 and as needed between any additional layers.
Experiment setup
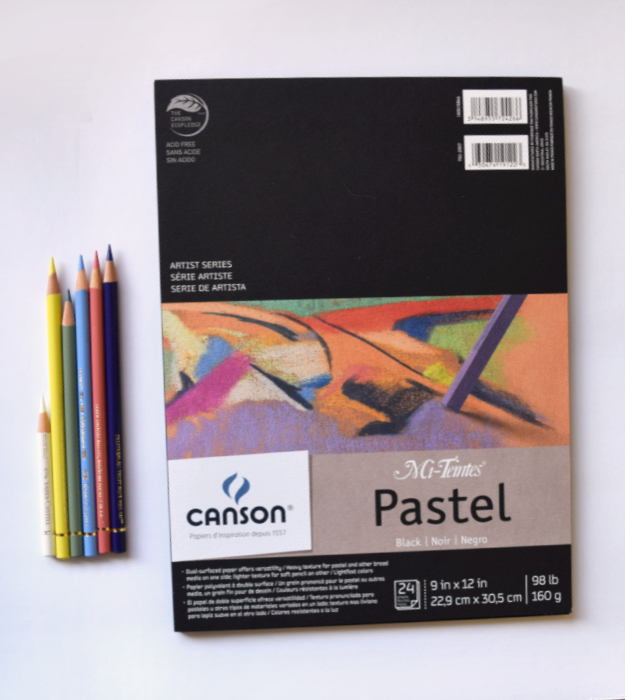
Paper: Canson Mi-Teintes pastel paper (98 lb)
Pencils: Faber-Castell Polychromos pencils in white, light yellow glaze, earth green, sky blue, medium flesh, and delft blue.
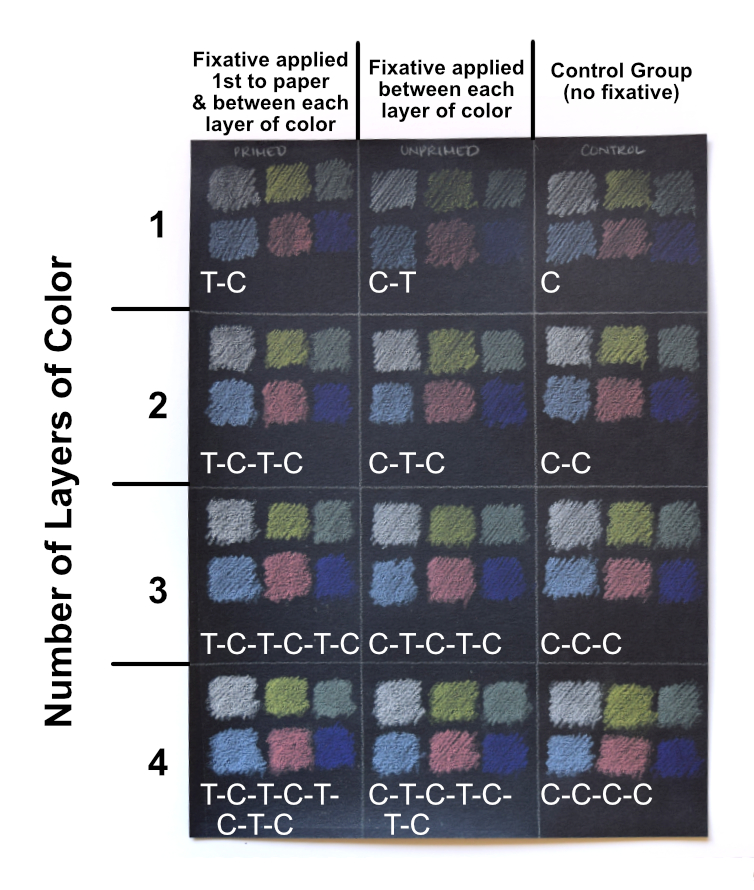
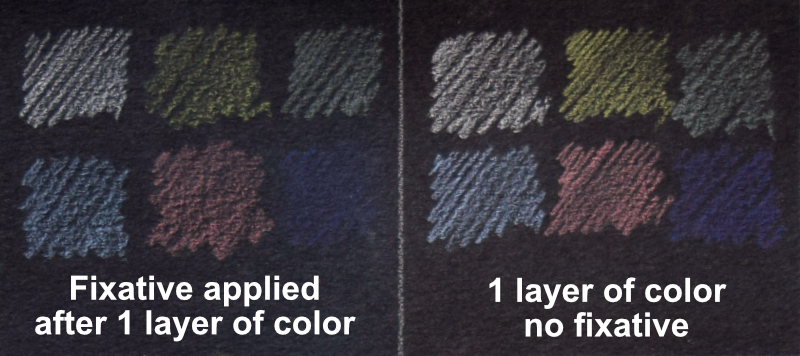
The main purpose of this experiment was to see if the vibrancy of the pencils changes when using the textured fixative. My right column is the control group. No fixative was used. The middle column has no fixative before the first layer of color is put down, but each subsequent layer of colored pencil is alternated with a layer of fixative. The left column was first primed with the fixative, and each additional layer of pencil is alternated with a layer of fixative. I tried my best to apply the same amount of pressure while I was coloring each layer.
As a shortcut, I’ll denote each layer of color as a “C” and the textured fixative as “T”
Observations:
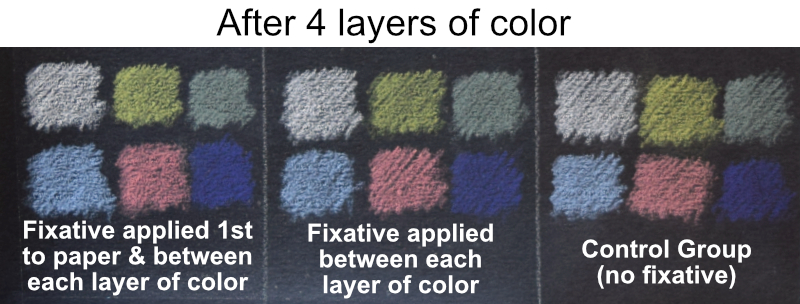
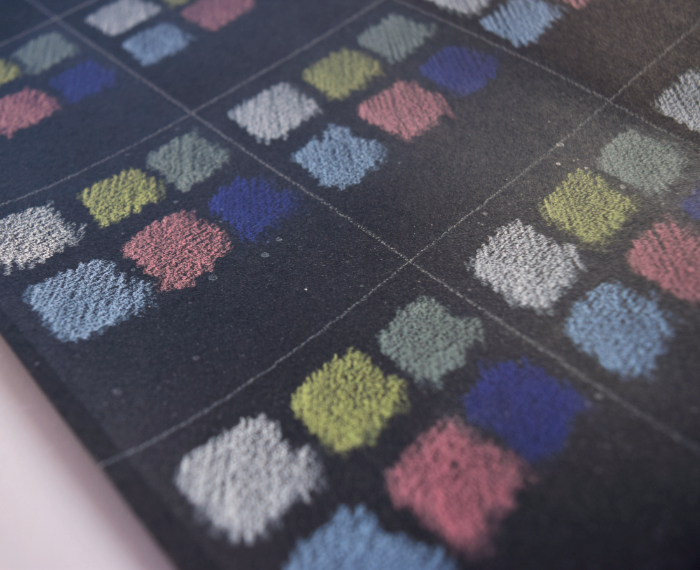
1. Vibrancy: Overall the vibrancy of the color was not significant with or without use of the textured fixative. But I did notice that I could feel a difference in texture as I colored over the dried fixative. The texture was very consistent throughout all 4 layers. With the control group, I felt that I was slowly losing the tooth of the paper as I was depositing more color.
2. Impact on the paper: Paper warping was immediately apparent after the first layer of fixative was applied. I taped down the paper after noticing the warping. Also, with each layer of fixative, the fixative leaves behind a very slight sheen. Most papers are naturally matte, but after 4 layers of fixative, the paper surface transforms to a semi-glossy finish.
3. Splattering/uneven spray: The spray nozzle was perfect for the first two applications, and then became more uneven during the 3rd and 4th layer. The larger droplets dried, leaving an off-white color which is very noticeable against the black paper. The white drops cannot be erased because it is permanently fused to the fibers within the paper. They however, can be covered up easily by colored pencil.
4. Color changes: Comparing the vibrancy of 1 layer of pencil before and after the fixative is applied, the spray slightly breaks down the colored pencil, resulting in slightly less saturated color. However in the second layer of pencil, the color applies just as vibrant as the control group.
Conclusions:
Pros:
- Generates a textured surface
- Adheres well to colored pencil and paper
- Low odor (advertised as safe to use indoors, but I would always recommend any aerosol be used outdoors in a well-ventilated area).
- Quick-drying time (recommendation of 15 minutes to dry, but I found that it dries in 5 minutes in direct sunlight).
- Effectively seals the previous layers of color
- Advertised as non-yellowing, acid-free
Cons:
- Slightly discolors papers other than white
- The nozzle deposits uneven drops which dry to an off-white color
- Causes heavy warping.
To get the maximum benefit from the textured spray, I would advise the following:
- Clean up any stray marks completely prior to using
- Tape down all 4 sides prior to spraying (especially if working with paper 98 lbs (160 g) or lighter)
- Cut a stencil or mask off areas to protect the surfaces that you don’t wish to be sprayed
Some other minor notes I think are worth mentioning:
- Many brands advertise the amount of coverage a typical can of fixative can cover in square feet. Brush and Pencil however does not list this on their can or on their website.
- To prevent the nozzle from clogging, I turn the can upside down and spray for 5 seconds until there is only the propellant coming out of the can. This is to clear out any residual product from potentially blocking the nozzle.
Purchasing information for US customers
1. Direct from Brush and Pencil: https://www.brushandpencil.com/Products-Advanced_Colored_Pencil_Textured_Fixative.html
Cost: $17.95 (add $13 for shipping via FedEx Home Delivery (shipping may vary slightly by state))
2. Dick Blick (where I purchased my product):
https://www.dickblick.com/products/brush-and-pencil-advanced-colored-pencil-fixatives/
Cost: $14.29
Note that this item is not excluded from discounts. Blick often has free shipping offers with a minimum purchase and 10%-20% off offers every week.
If you’ve found my review helpful, please leave a comment! I tried to structure my review to answer all of the questions that I had in mind while I was researching this product prior to purchasing. I may do a part two of this product review to cover how it impacts colors and different papers in the future if there’s interest.
Thanks for this review. I have this product and have used it once on heavily saturated layers so I could make a small correction of light over dark. It was effective. I was a little annoyed with the splatter, which is not mentioned in any other review I have read, but now that I have read your comments I won’t be as concerned. I have not used this from the beginning of a piece, but I noticed that some of the spray flakes off when I was (gently) layering over it. Have you had this experience? Any suggestions about how to avoid that problem?
Hi Denise, Sorry for taking so long to respond. You mentioned that you used the spray after you had already applied heavy layers of colored pencil. I’m guessing that because the paper may have been burnished and the surface is now very smooth, the fixative has a difficult time adhering to your drawing (and then has a higher chance of flaking off).
I’ve experienced flaking when I’ve accidentally sprayed too much of the fixative in one area.I unfortunately don’t have a solution for you. If you try contacting Brush and Pencil’s customer service, they may be able to provide you with some tips to work with their product.
Nice review. I’m new about coloured pencils. The result of this new technique intrigue me, but I have a question for you:
This technique transform the colour pencil on something very close to pastel pencil, same paper, some blending capacity, can work from dark to light colours, needs a fixative etc. But seems to add another step of complexity, the blending power. Also, the creator said this technique will save money, because you don’t need to sharp so frequently your pencils, but the tools for this method are really expensive. My question is, why do not use a mixing techniques with Pastels (panpastel, pastel pencils and soft pastel sticks etc) and coloured pencils for fine details?
Hi Francesco, I personally have found it difficult to create a mixed-media drawing using colored pencil and pastels together. Both colored pencils and pastels require some amount of texture (tooth) on the surface of the paper in order to deposit color. I’ve found that pastel can easily fill in the texture of the paper quickly and then the colored pencils do not have enough texture to layer on top. I’ve heard of several artists who have been successful at using both art materials, but I think that it may be due to their unique application techniques and the paper that they use.
Great review thanks so much.
I’m transitioning from graphite to colored pencil and just bought B&P products to experiment with. I’m experimenting with the powdered blender. What are your thoughts, if you wouldn’t mind?
Thanks for reading Laura! I have purchased the Brush and Pencil blender but I personally found it difficult to layer additional color on top of an area that had colored pencil blended with the blender powder. I use a mineral spirit (Gamsol made by the company Gamblin) to blend colors in my own work. I picked up this technique from Lachri on YouTube. The link to her video tutorial is here if you’d like to take a look: https://youtu.be/go7vg2ozENo
First of all, this is literally the only decent review I found from this product. What you described is what I have experienced. The spray nozzle for spaying this stuff is a joke. I thought the can was faulty at first, but after trying out the other can (yes, I was a sucker and bought the kit), I soon realized it wasn’t the can. The spitting thing was just insanely ridiculous. I even tried different nozzles, and the results were the same. Then there is flaking and the curling of the paper, which is really annoying. Because we all have a similar issue when it comes to color pencils, I think we all want this to work, but after a month of dabbling in the Brush and Pencils product, I have come to this conclusion. There design solely to work with their costly paper.
So for me, it is better to watch what I am doing and use my regular Krylon workable fixative. My colored pencil supplies shouldn’t outweigh my oil painting supplies, but that is what Brush and Pencils are asking, and I am too old to be setting up a new system in my studio. It should be fun, not frustrating.
Thanks for the awesome reviews. In my opinion, this is a terrible product.
Hi Shane, I’m sorry you unfortunately experienced the same thing that happened to me. I always give new products a month of use before I summarize my findings in a review. If there were nuances with how to optimally use a product, I wish the company would openly disclose it or have a video demonstration. I’m glad Krylon’s fixative works with your art. It’s on my list of fixatives to try.
Like many others, I too am new to colored pencil. My medium was oil. I am beyond “not happy” with Brush and Pencil__ seems they purposely withhold any information or instruction on how to use their product. I’m with Shane…should be fun, not break my little bank with promises not kept.
Hi Marnie, Thank you for sharing your experience with your fixative. I don’t like giving negative reviews but being honest is really important – especially with how expensive art supplies are now. I hope you find a product that works for you.
Hi. I have used the Brush and Pen materials for a few years now, and I do agree that the textured fixative does sputter onto the paper at times, (I have used sanded paper and also I did a mural on a sheet rocked wall) but you can just go over it with the colored pencil and it disappears. It says that somewhere on the site-I find this a really great method on the whole. Thanks
Hi Tina, Thank you for sharing your experience with the fixative. I always appreciate artists sharing their techniques with others. I’m glad it works well for your purposes!